The Camp Kitchen Project – Build your own Chuck Box
When it comes to camp cooking, an organized camp kitchen or chuck box is key. You could buy an Action Packer by Rubbermaid and call it a day, or you could step up your game and build a wooden camp kitchen that your grandkids will use one day. It’s easier than you think to build your own camp kitchen. All you need is a cordless drill, a saw, and basic woodworking skills. Here’s a step-by-step overview of how to build your custom camp kitchen.
Step 1: The Plan
Your first step is to figure out your plan. What do you want your camp kitchen to look like? How do you plan on using it? What items do you plan on storing in your camp kitchen? After considering these items and looking at dozens of different designs, I found a design that I really liked on REI’s blog. Here’s a link to the REI design.
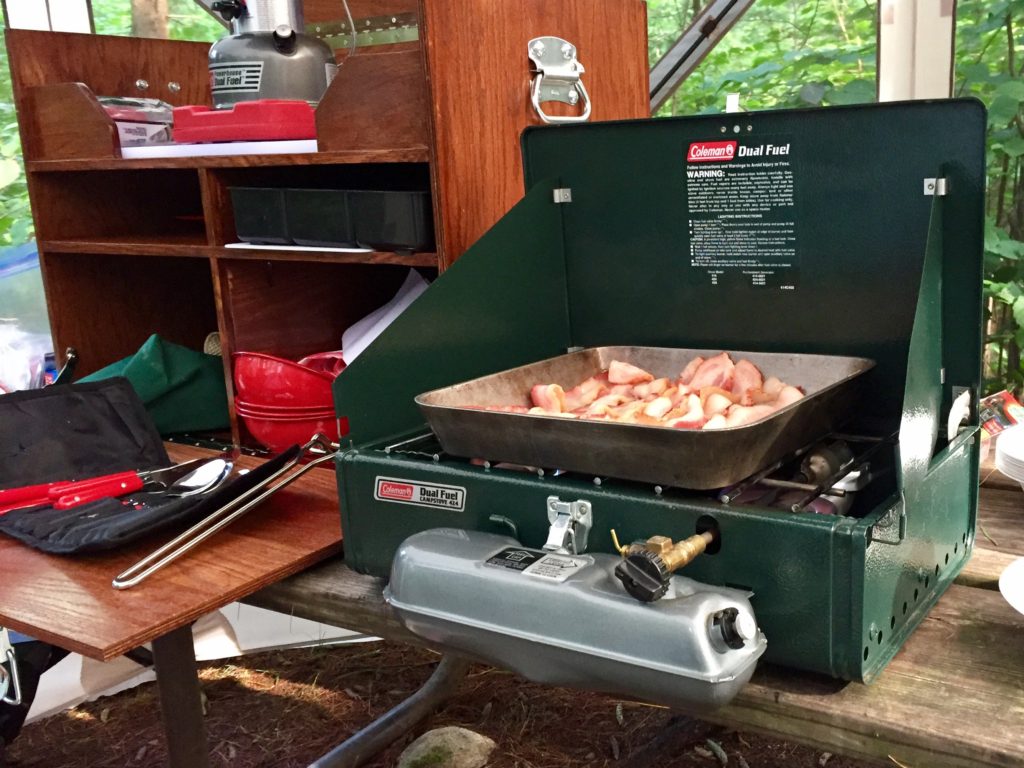
REI offers a very functional design that is easy to modify to suit your needs. The two key areas where I modified their design for my project was the height of the top shelf, I wanted it to be a little deeper to accommodate my classic Coleman Two-Burner Stove. And, I installed dividers on the second shelf to create a little more organization.
Step 2: Cutting
One of the reasons I went with REI’s design is they offered a cut sheet that greatly simplifies the project. You can build their camp kitchen with one 4’x8′ sheet of 1/2″ plywood. I chose a premium grade red oak plywood for my camp kitchen.
For the best results, you’re going to want to do all the cuts yourself using a table saw. If you don’t have a table saw, a circular saw will work. Don’t have a circular saw? Seriously? You really need one, here’s a good choice from Makita. Everyone should at least own a circular saw and a cordless drill, as you can build almost anything with these two tools.
Step 3: Assembly
The assembly process is pretty straightforward. One area where I deviated from REI’s plans was to use Kreg Pocket Screws. You need a special jig that runs about $20, but it’s well worth it. Pocket screws are an easy way to make an incredibly strong joint. I now use them for almost everything I build.
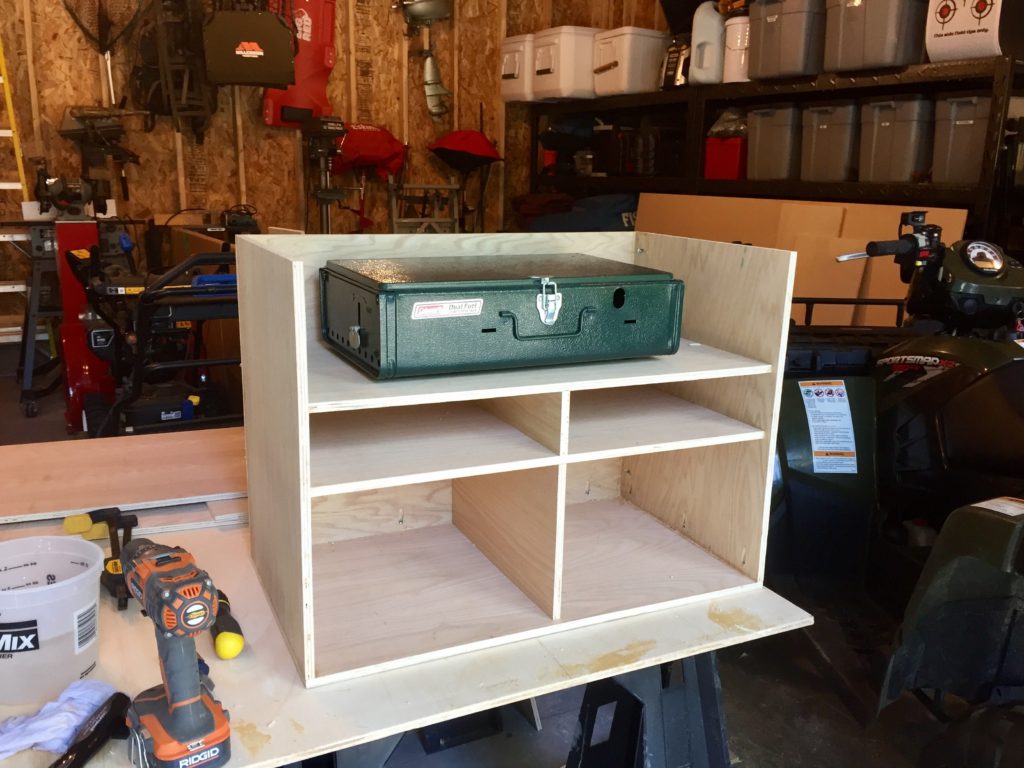
Another area where I deviated from the REI plan was with a few extra touches.
- Added a strip of white oak, to cover the end grain on the lid and to serve as a handle.
- Trimmed out the end grain of the shelves with strips of white oak.
- Purchased a large sheet of cutting board material and using my table saw I cut it to perfectly fit the top shelf under my stove.
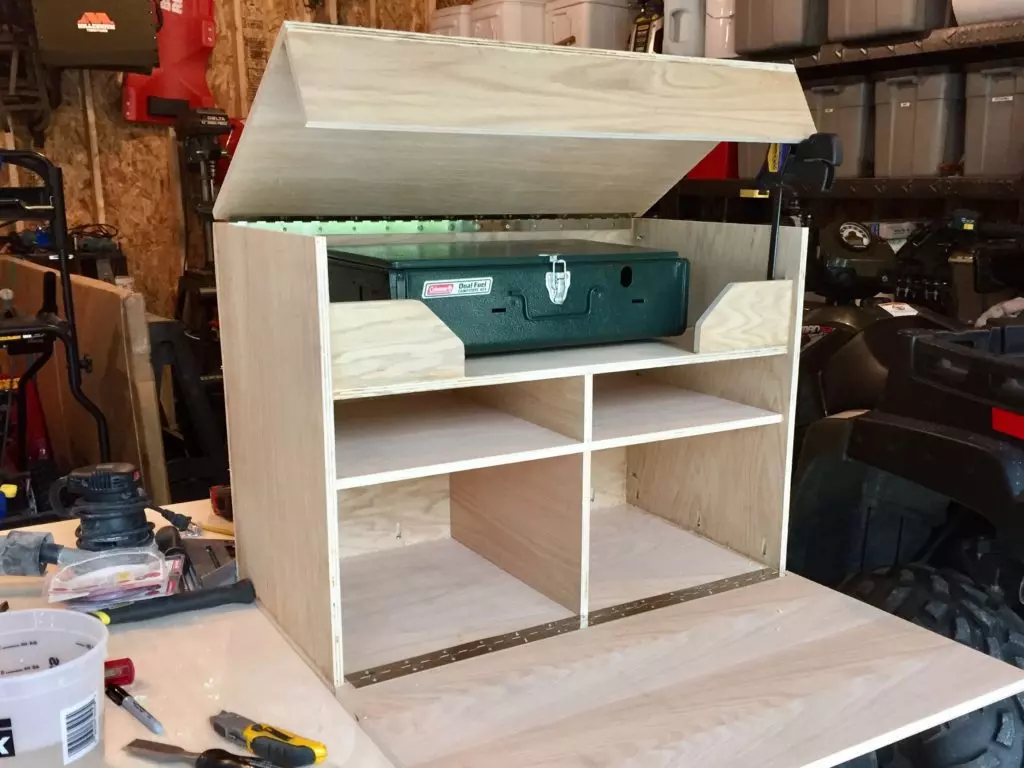
Step 4: Finishing
I much prefer woodworking to wood finishing, but it’s an important part of the process. My camp kitchen received a couple of coats of Minwax stain and three coats of outdoor quality polyurethane sealer. Be sure to lightly sand with fine-grit sandpaper in between each coat of sealer. The stain and sealer really bring out the detail in the wood grain and it will protect it from the elements.
After the wood was finished, I added piano hinges and supports for the lid and the front of the box. I added latches on the front and finished the piece with heavy-duty handles on the side.
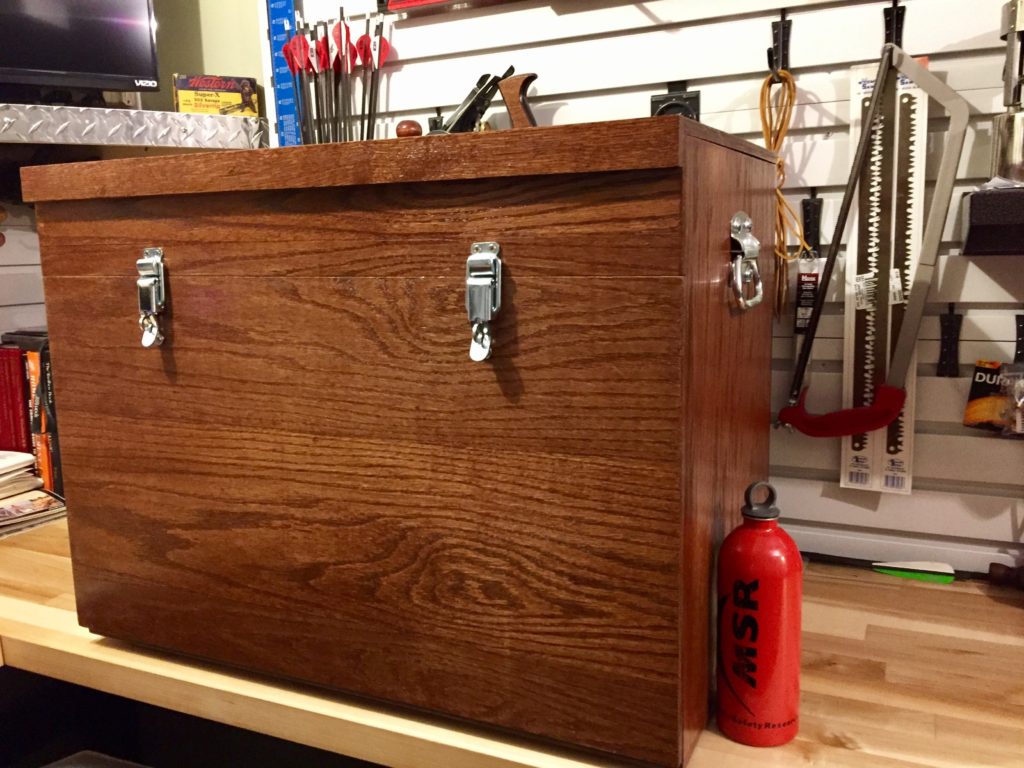
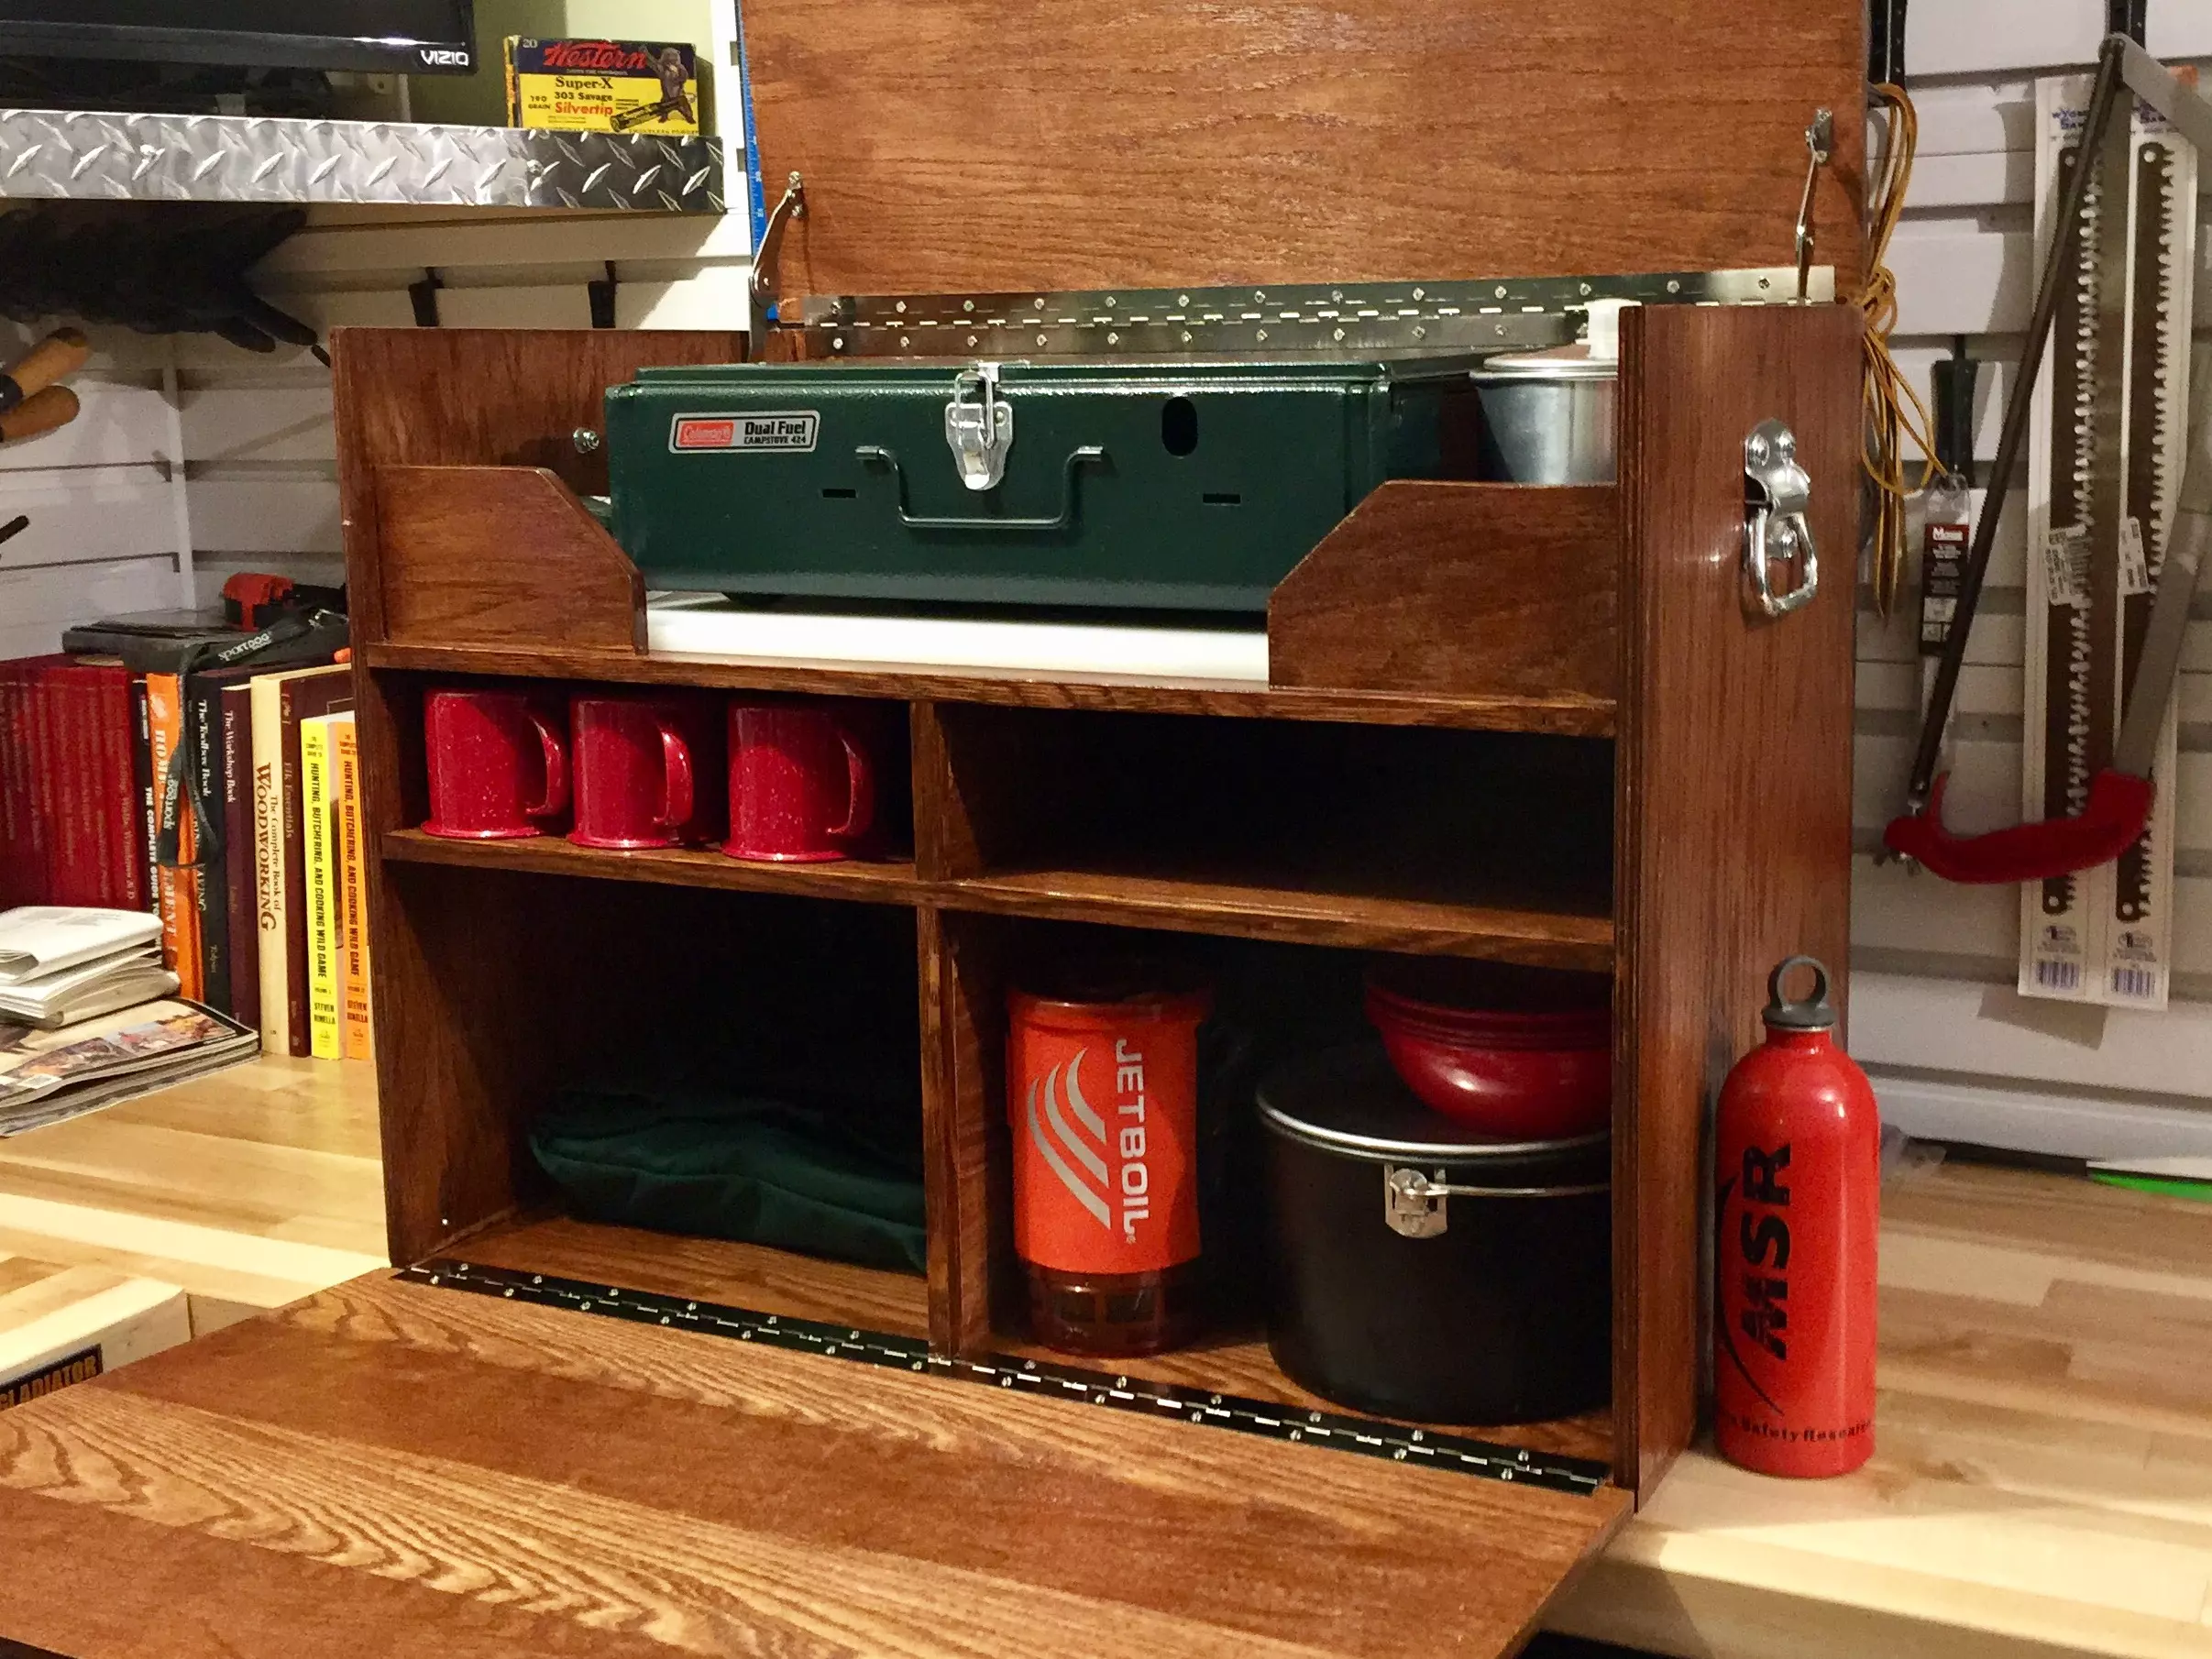
Step 5: Equipping your Camp Kitchen
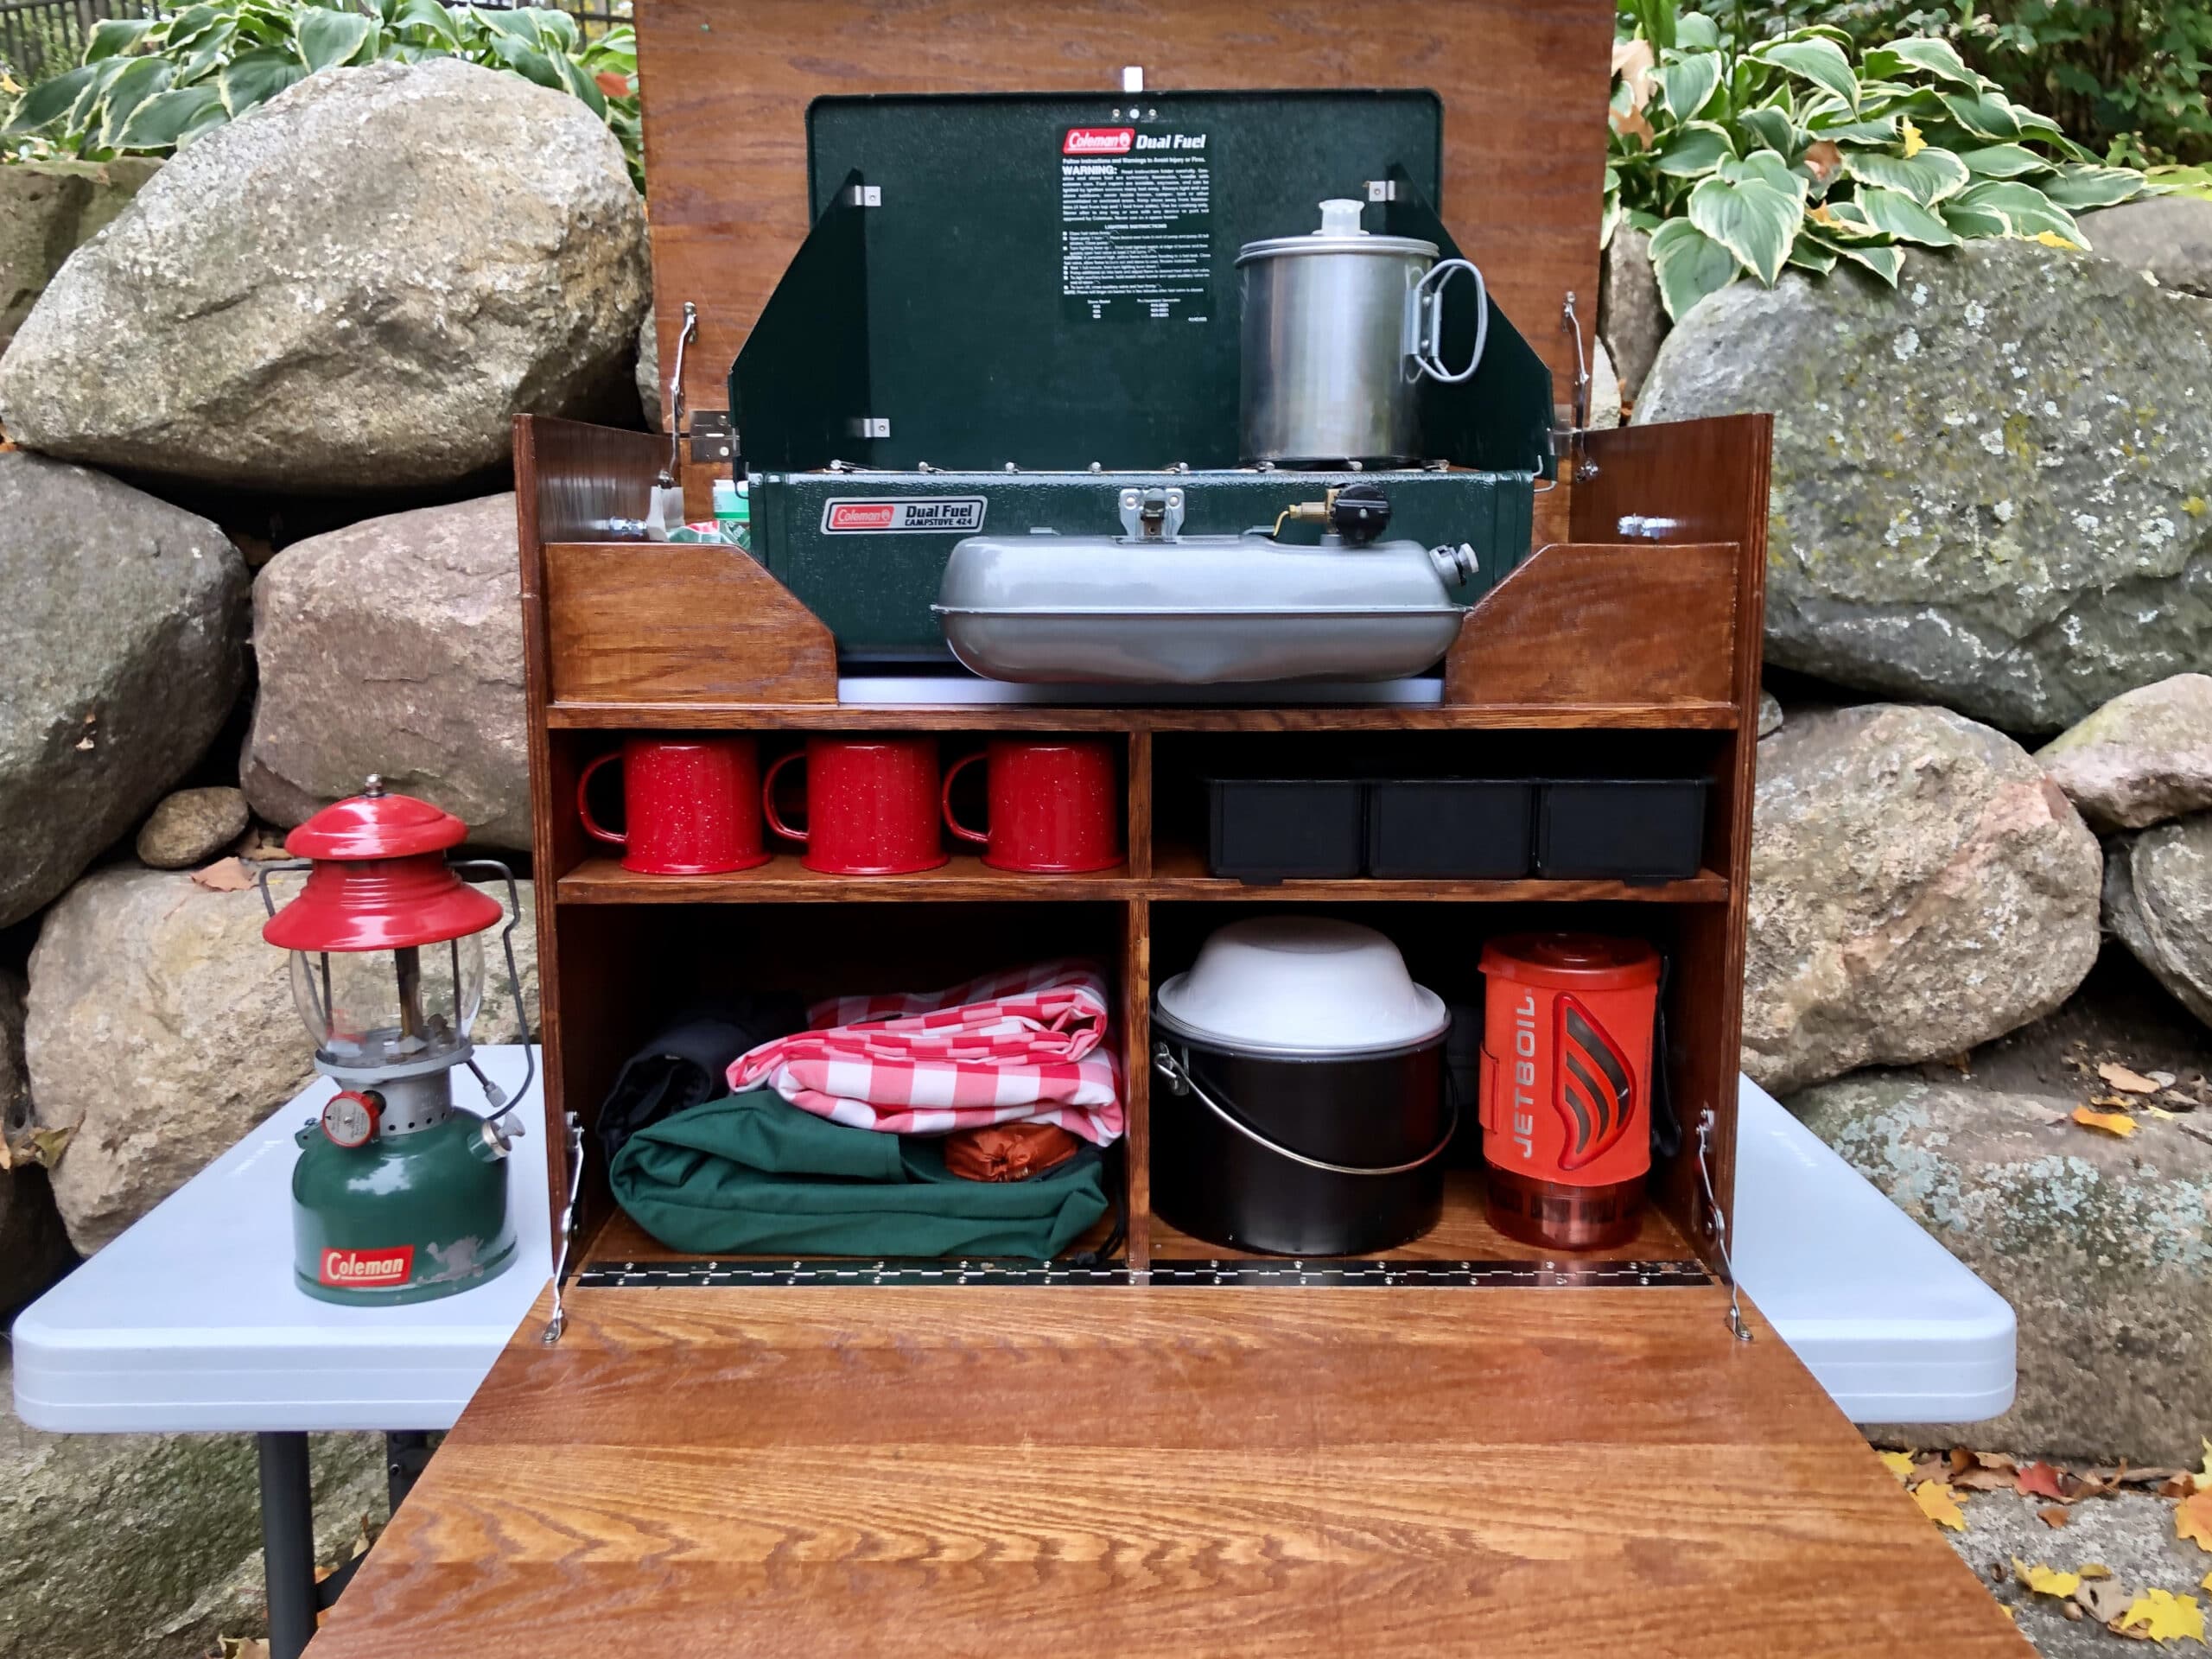
One of the really fun parts of completing your camp kitchen is equipping it. I have the following items in my camp kitchen:
- Coleman Classic Liquid Fuel two-burner stove
- Jetboil Flash
- Coleman Enamel Dinnerware Set
- Collapsable sink and dish towels
- A drawer with various utensils and spices
- Aluminum foil, plastic wrap, and ziplock bags
- Pots and frying pans
- A Boundry Waters Journal 12″aluminum frying pan
- A “Bakepacker” (for baking cakes on a camp stove)
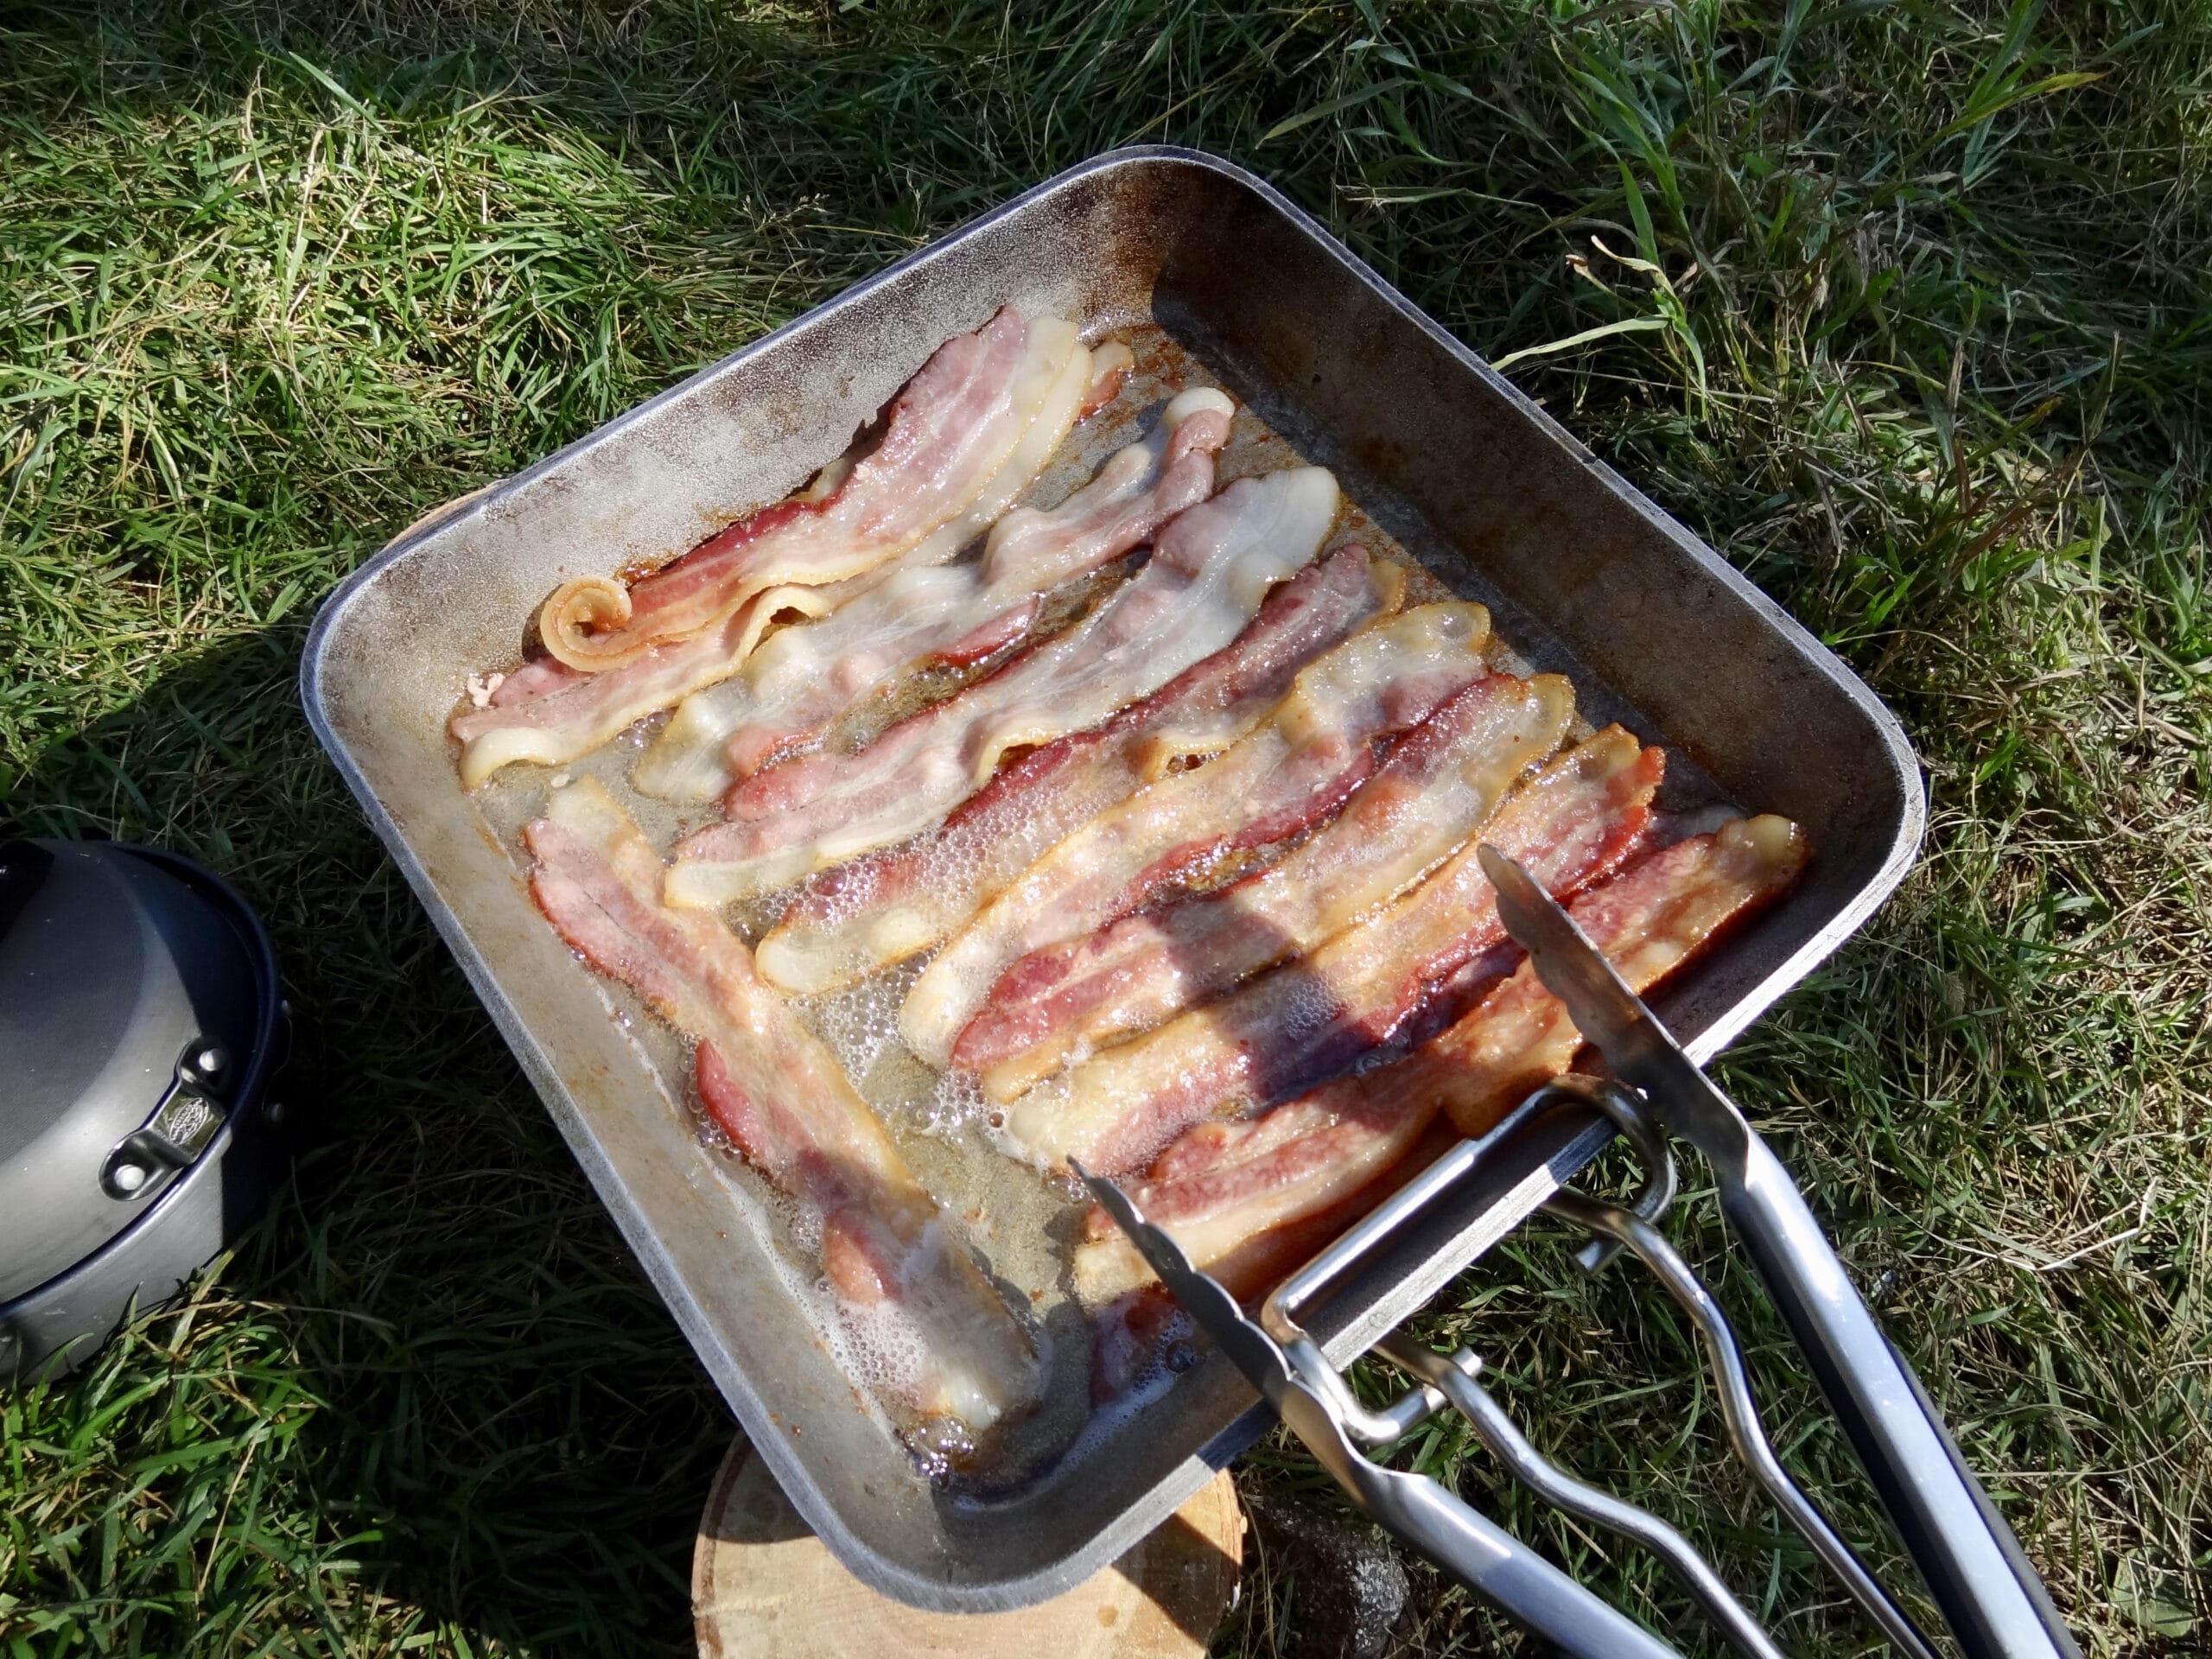
Step 6: Go Camping
Now that you’ve stocked your camp kitchen, the only thing left is to take it camping. Enjoy your new camp kitchen!
Related Content: The Classic Coleman Lantern
Note: HuntTested may receive a small commission if you purchase a product from the links on this page. This does NOT increase your price and helps to pay for the content you’re enjoying. All opinions belong to HuntTested.

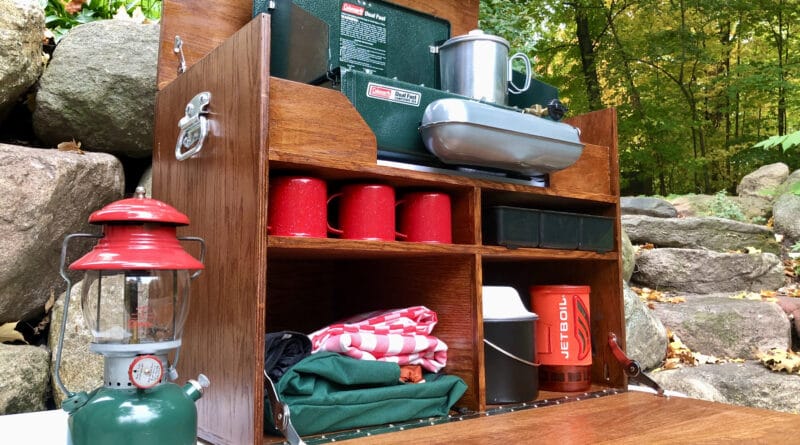
Could you provide the exact dimensions you used to accommodate for the top shelf please? My husband has the same Coleman stove. He loves your design and would like to duplicate it!