Mounting Antlers to a Plaque in Six Easy Steps
Every good buck that we take is a trophy. We want to display it, but we don’t always have the room or the money for a full shoulder mount. Mounting your antlers on a plaque is a pretty fun, easy, and inexpensive project. This article covers how I mount antlers with just a few supplies from Van Dyke’s Taxidermy. All you’ll need for this project is an antler form, some Apoxie putty, a decent piece of leather, and a good quality wood plaque.
Step 1: Prepare the Skull Plate
Clean your skull plate as much as possible and then let it dry. Next, you want to take either a Dremel or similar tool to get the rest of the flesh off. You want the skull plate to fit tight against the form, I do this by using a combination of a handsaw and a Dremel tool to get it completely snug.
Step 2: Mount the Antlers to the Form
Mount the rack to the form by drilling two holes in the skull plate. I prefer to do it at two different angles to give it some extra stability. I also like to take a small piece of epoxy putty mix it up and then put it in between the form and the skull plate. Once that Apoxie putty is dry, the form and antler skull plate will be completely rock-solid. Once you’re satisfied with how the skull plate fits onto the form, go ahead and use two sheetrock screws to attach them. You want to make sure that the screws are long enough to reach the plywood but not too long so that they stick out.
Step 3: Apply Putty to the Form
Mix up a new batch of Apoxie putty. You’ll probably use less than you think you’ll need, and you can always make more. It tends to go a long way. Start filling in any voids between the skull plate and form. Try and get everything to the level of the form around the skull plate. You’ll get the hang of it. You can kind of stick a little bit to your fingers and you’ll figure out how to just fit it into all of those voids and cracks. Continue applying putty until you like the general appearance. You’ll want to fill it in so that it looks like it’s all one form. Any bumps or ridges can show through the leather so you want to do your best to fill it in so you like how it looks now. Once you’ve got as much putty on your form as you think you need, then you just need to smooth it out.
Step 4: Smooth the Putty
Use a little bit of water with latex gloves, it’s amazing how smooth you can get the putty just by kind of reworking it as it dries. Next, I use a tiny screwdriver right at the antler bases to make sure that I have space to fit the leather underneath those antler bases once dry. I give it a final sanding just to make sure it comes completely smooth before I start the next step.
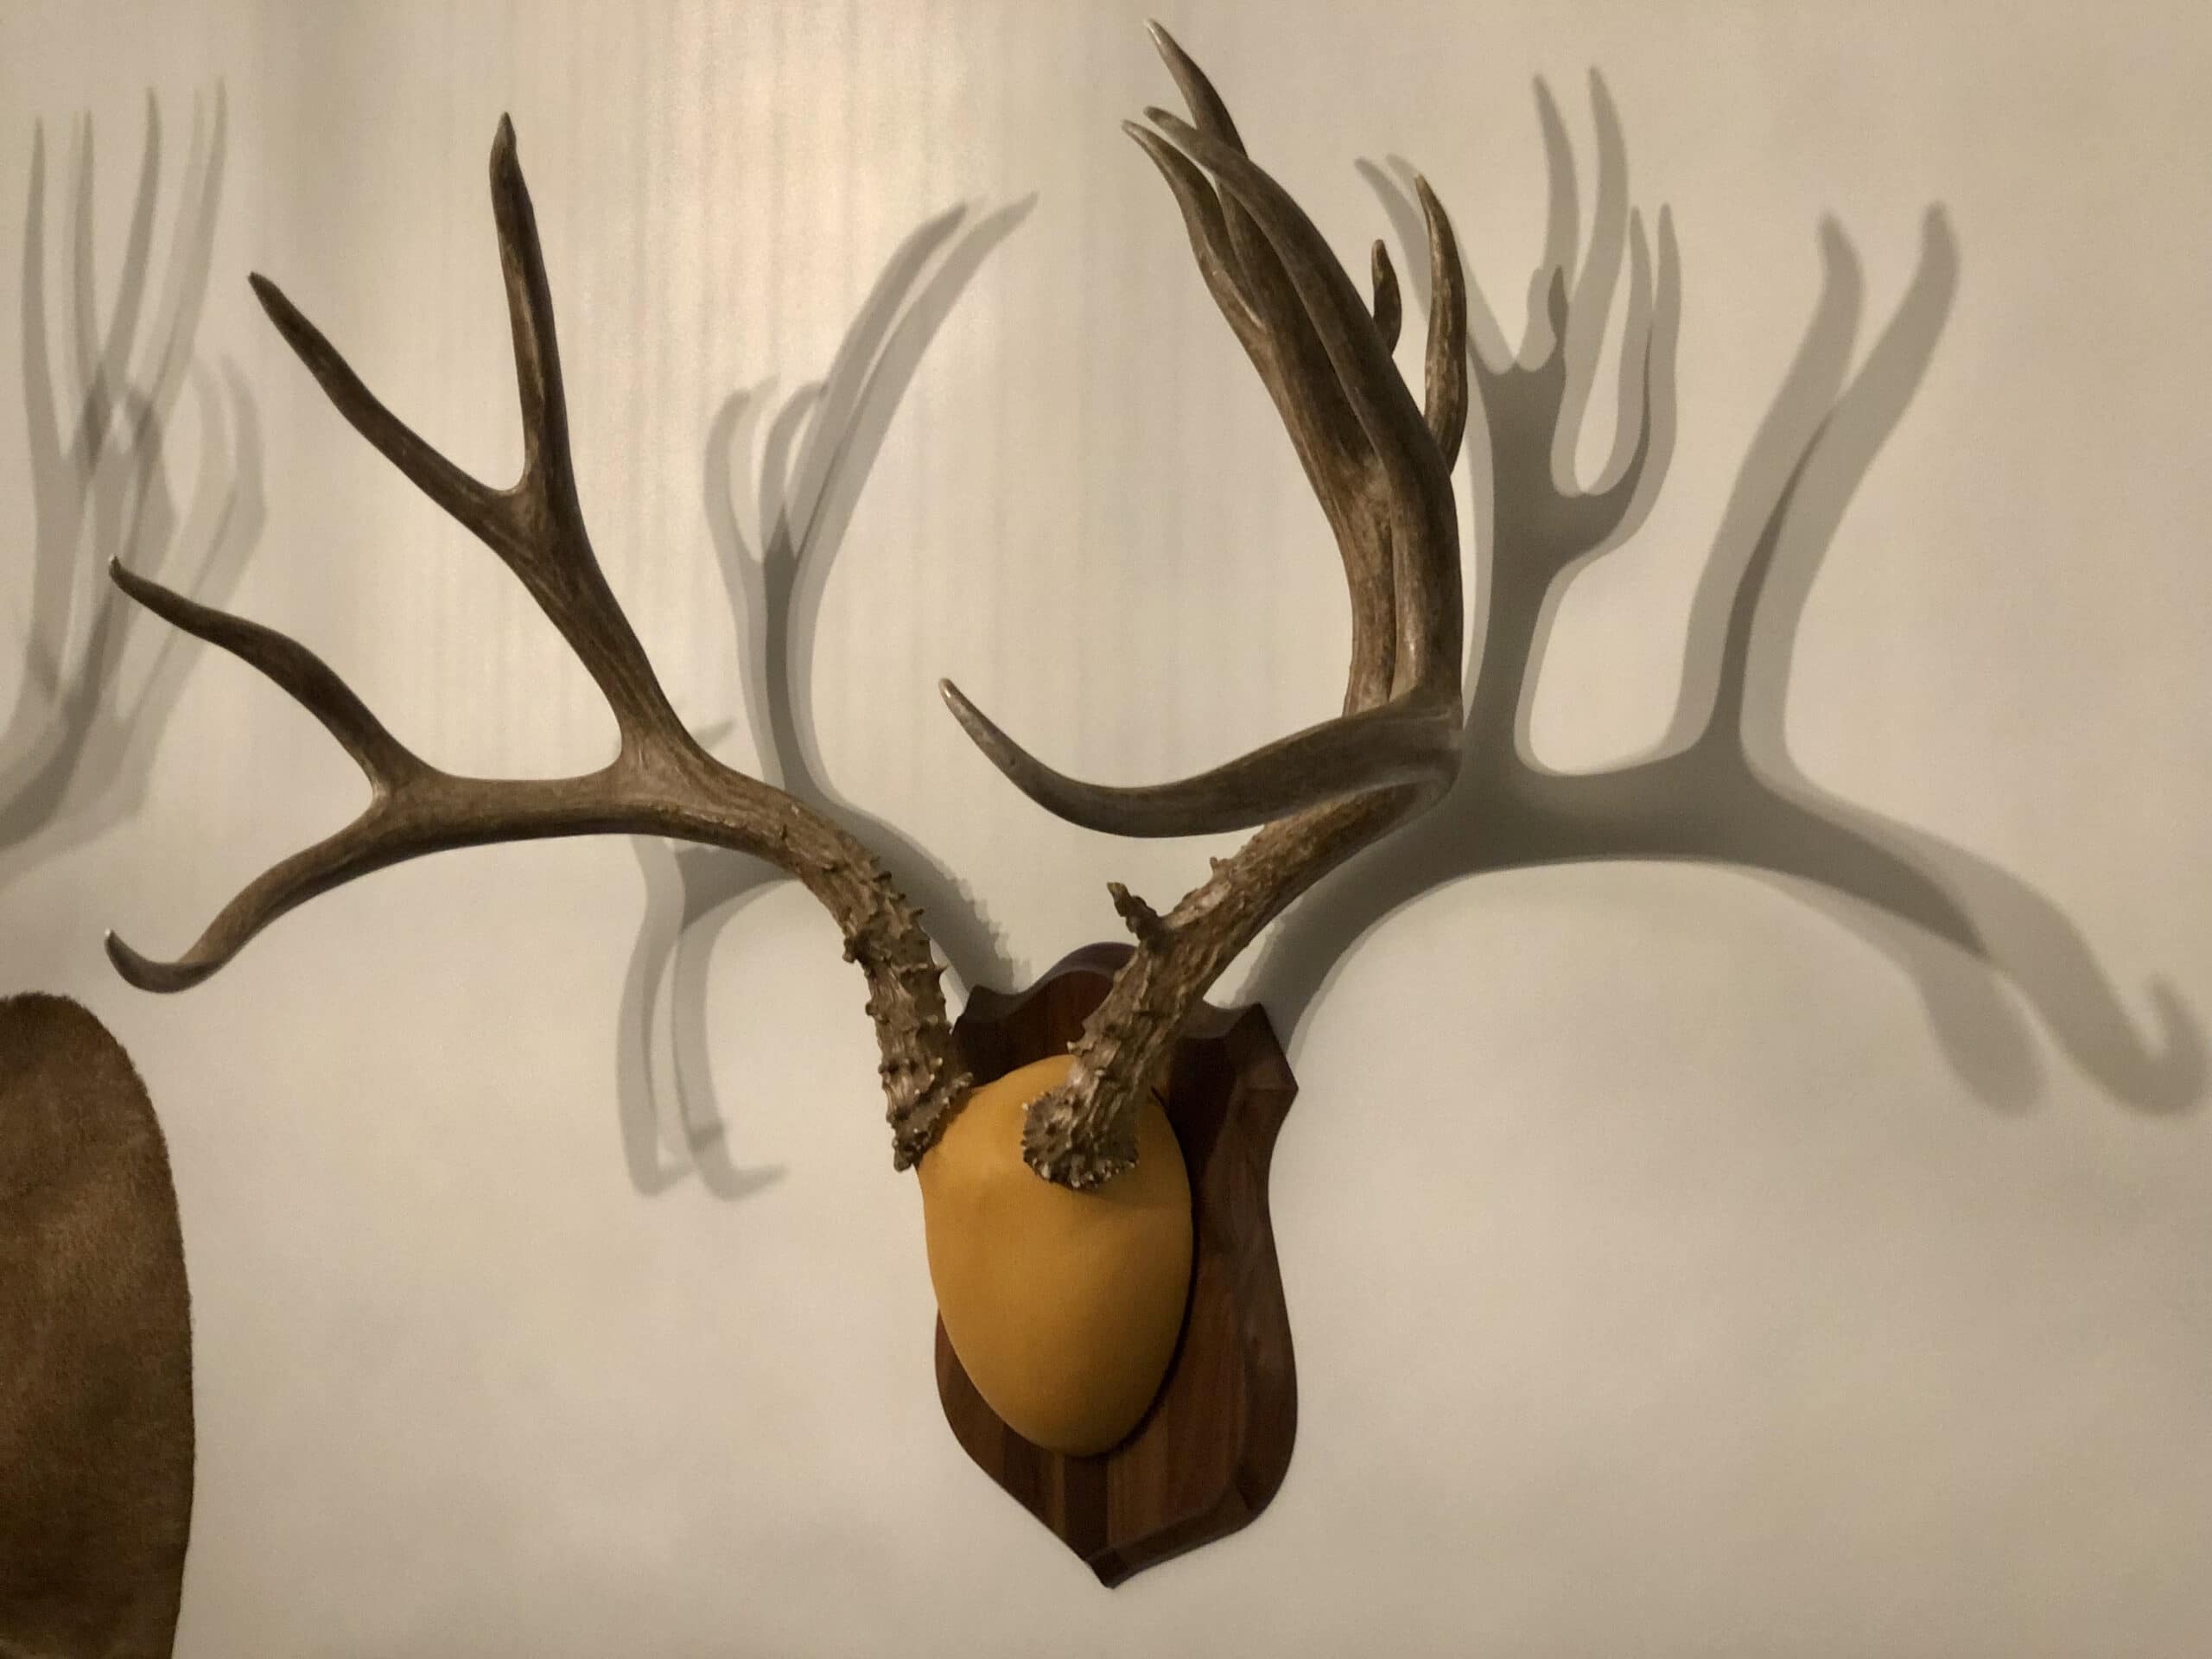
Step 5: Cover Antler Form with Leather
I use a piece of leather that’s just slightly larger than the walnut plaque that the antler form is going to be mounted on. This gives me enough excess so I have plenty of leather to work with. I start by marking the leather lightly with a small screwdriver then making two diagonal cuts to the base of the antlers from the top this whole step is a little more of an art than a science.
Pro Tip: Trim less than you think you need at first
The rule of thumb I follow here is to try and cut less than you think you might need when trimming. You can always cut a little deeper or cut a little more. If you cut too much at first, then you’ll have to start over with another piece of leather. After making those first two cuts, I lay the leather back on the antler form. Then I take that little screwdriver and I make a few marks underneath the antlers to give me a guide so that I know where to cut the two holes that I’m going to use for wrapping around the base of the antlers.
After making those cuts, flip it over and start getting ready to staple. I staple starting at the top right in the center and then work my way down both sides. The key to working with this leather is stretching it to get the wrinkles out, but not too much. Next, pull the leather snug around the bottom. Center the bottom and then start working your way up. As you work your way up, continue to stretch the leather just enough to get the wrinkles out. Finish up by cutting off any excess leather that you’ve got in between the staples.
Step 6: Mount the Antler Form to the Wood Plaque
All that’s left is mounting the form to the actual plaque itself. I use painter’s tape to mark exactly where I want the antler form on the plaque. Mark and then drill three holes for attaching the form to the plaque. Drill one angled hole that is centered on the back for hanging the plaque on the wall. Drill two more holes to attach the form to the plaque. Make sure your screws reach the form but are not so long that they’ll stick through the leather.
Finally, use a sharpie to add the location where you shot the deer, and the year on the back. Display in a prominent spot in your house and start looking forward to the next deer season!
By HuntTested Contributing Editor, Jeff Boehler
Related Content: HuntTested Pro Tips: Planning for Taxidermy
Note: HuntTested may receive a small commission if you purchase a product from the links on this page. This does NOT increase your price and helps to pay for the content you’re enjoying.